You Lucky Duck Surprise Box Tutorial ~ La-La Land Crafts
[vc_row][vc_column][vc_column_text]
Hey all! Today I have a tutorial for you!! I am so excited to show you a fun surprise gift box I made using the You Lucky Duck Clear Stamp Set. This little box is super easy, fun, and fast! It will actually hold almost an entire 9oz. bag of Ghirardelli Chocolate Squares or whatever candy, gift you wish. This will be something fun for you to work on this weekend maybe... it is a great way to start a long weekend after all :)

CUTTING:
And you have completed your box :)
Here are the Copic markers I used:
Duck: C0, 2, YR23, 24, 27, Y35
Flower: B00, 01, 04, G24, 21, Y13, 17
Do you like the way I color? Come and join me over at The Copic Academy to learn how I do it

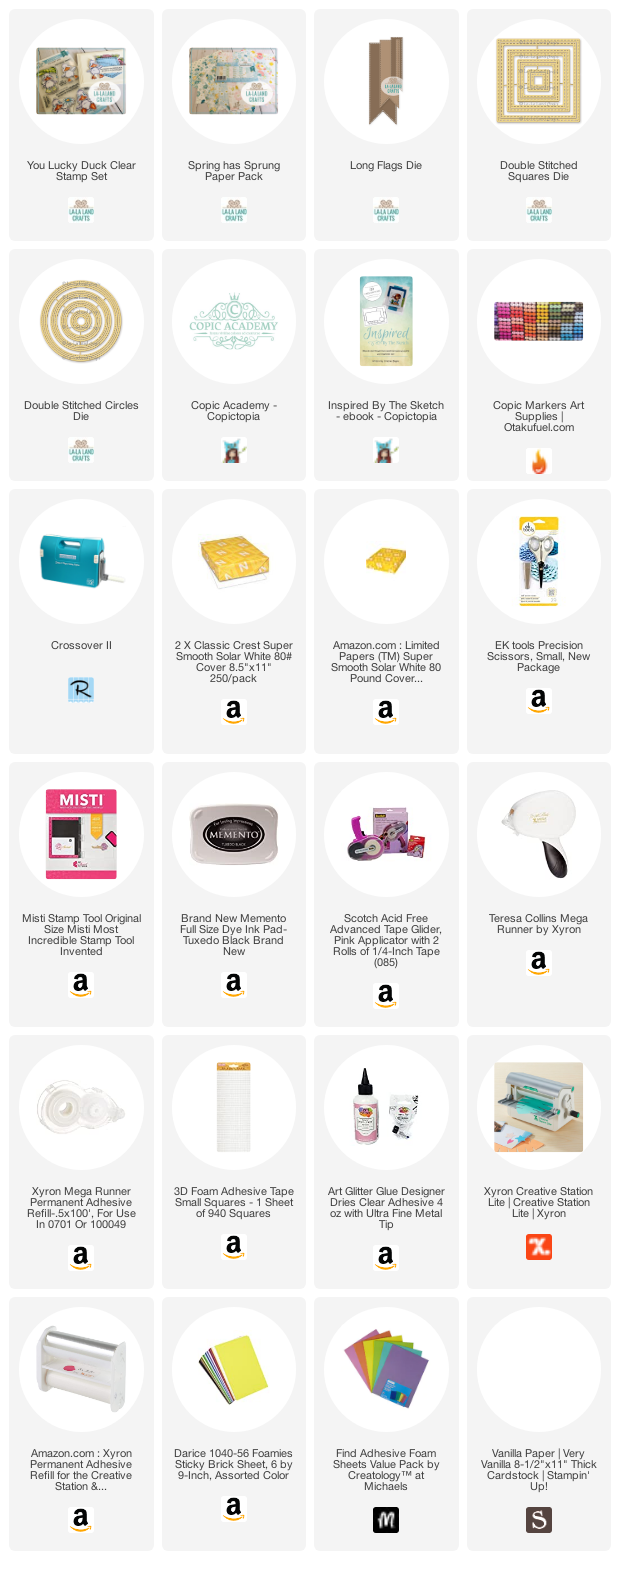
Here are the supplies I used for the card:
I hope you enjoyed my post today. Don’t forget to go and see the rest of the team’s creations over at the LaLa Land Crafts Blog. Don’t forget you can also find great inspiration over at the LaLa Land Crafts Facebook Group and on Instagram as well.
Until next time friends!!!

Don’t forget to follow me on Instagram, YouTube, Pinterest, and if you want to connect with me, even more, come see my facebook page!
[/vc_column_text][/vc_column][/vc_row]
Hey all! Today I have a tutorial for you!! I am so excited to show you a fun surprise gift box I made using the You Lucky Duck Clear Stamp Set. This little box is super easy, fun, and fast! It will actually hold almost an entire 9oz. bag of Ghirardelli Chocolate Squares or whatever candy, gift you wish. This will be something fun for you to work on this weekend maybe... it is a great way to start a long weekend after all :)
 |  |

CUTTING:
- Vanilla Cardstock: (1) 9 x 9, (2) 6 x 6 1/2
- Blue Cardstock: (6) 2 7/8 x 2 7/8, (6) 1 1/2 x 2 7/8, (1) Pierced Scalloped Circle
- Spring Has Sprung Paper Pack (blue flowers): (5) 3 x 3, (blue polka dots): (4) 3 x 3, (1) second largest Double Stitched Circle
- Run all 9 3 x 3 pieces through your cutting machine with the second largest Double Stitched Square.
- 18" of ribbon
HOW TO:
Inner box:
- Score your 9 x 9 Vanilla Cardstock at 3" on all sides
- Fold all score lines
- Cut like the following photo and diagram
 |  |
 |
|
 |
|
- One tab at a time, take the paper off the double sided tape and adhere to the adjoining side until the box is completed as shown in the photo.
 |  |
- Set your box aside for now
Outer box:
- Score your (2) two 6 x 6 1/2 vanilla cardstock pieces as shown in the diagram below.
- Score at 1 5/8 and at 4 3/4 on the 6 1/2 inch side
- Score at 1 5/8 and at 4 5/8 on the 6 inch side
- Cut your vanilla cardstock on the red lines
 |  |
 |
|
 |
|
 |
|
 |
|
 |
|
 |
|
- With the box closed, place score tape or strong double-sided tape through the middle of one side as shown in the next two photos
- Go from the edge of one side to the other
 |  |
- Remove the protective paper from the double-sided tape and adhere your ribbon so it goes all the way around the box as shown
[caption id="attachment_10271" align="aligncenter" width="274"]  Back of box with ribbon adhered to the double-sided tape[/caption] Back of box with ribbon adhered to the double-sided tape[/caption] | [caption id="attachment_10270" align="aligncenter" width="275"]  Front of the box with the ribbon tied in front[/caption] Front of the box with the ribbon tied in front[/caption] |
 |
|
 |
|
And you have completed your box :)
Here are the Copic markers I used:
Duck: C0, 2, YR23, 24, 27, Y35
Flower: B00, 01, 04, G24, 21, Y13, 17
Do you like the way I color? Come and join me over at The Copic Academy to learn how I do it
Here are the supplies I used for the card:
I hope you enjoyed my post today. Don’t forget to go and see the rest of the team’s creations over at the LaLa Land Crafts Blog. Don’t forget you can also find great inspiration over at the LaLa Land Crafts Facebook Group and on Instagram as well.
Until next time friends!!!

Don’t forget to follow me on Instagram, YouTube, Pinterest, and if you want to connect with me, even more, come see my facebook page!
[/vc_column_text][/vc_column][/vc_row]
Comments
Post a Comment
Thank you so much for your kind comments!