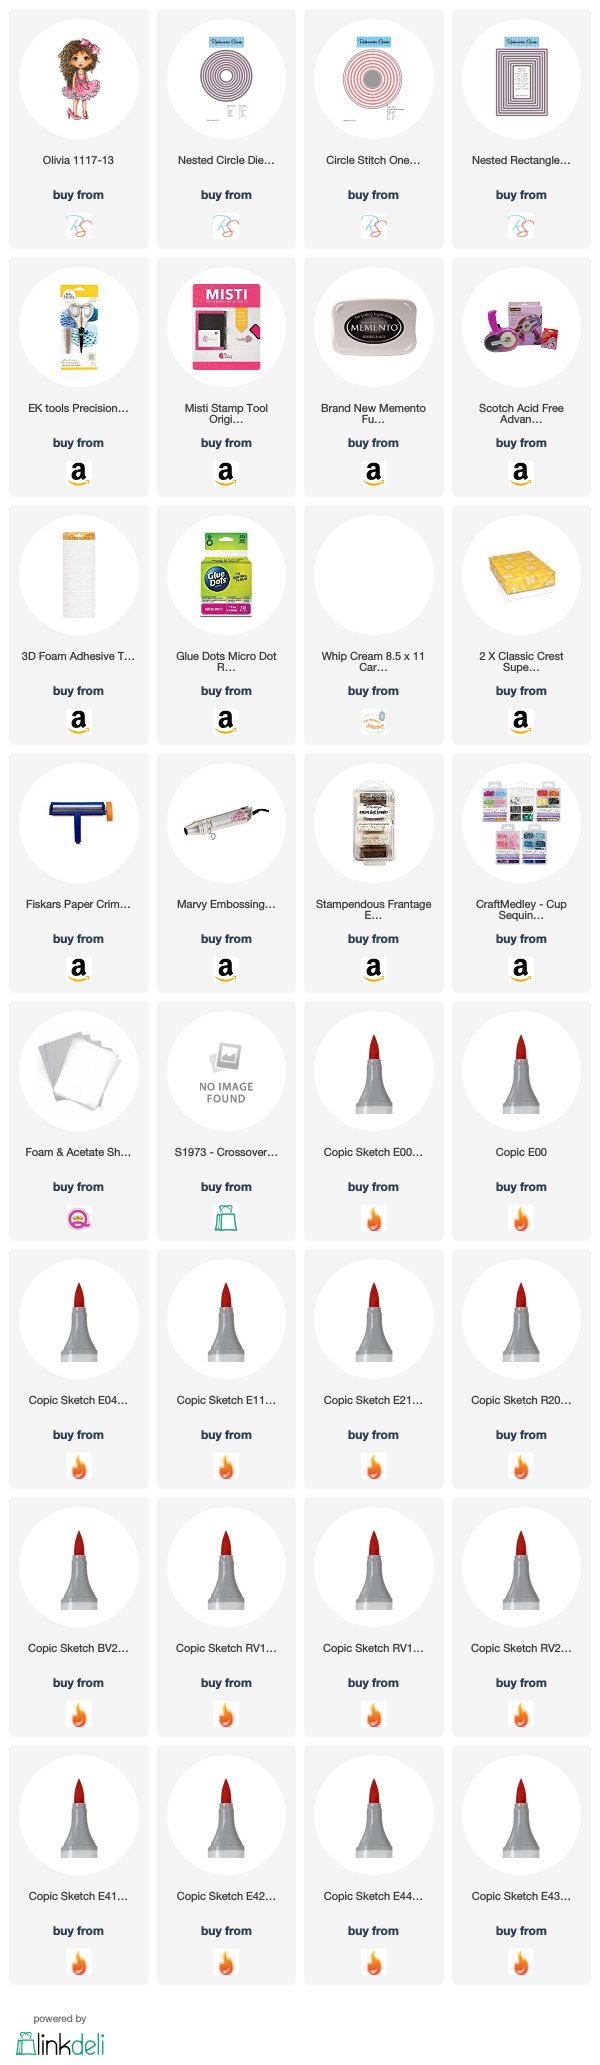
Olivia ~ Rubbernecker Stamps
Hey All! Today is going to be a fun bit of inspiration with Rubbernecker Stamp's Olivia.
This little stamp is special to my family and I. When this stamp was released I was very honored and happy to be asked to help name some of the new little girls. Meadow and I decided that we would name them after people that we knew.
This little stamp that is named Olivia, reminded me of this sweet little girl at our old church in California. Her mother Nicole is always posting the sweetest little photos of her with necklaces on and dressing up. So this little stamp just had to be named after little miss Olivia. We miss her terribly. It was so much fun watching her grow up. So with that stamp I decided to make this cute little card.

This little shaker card was so much fun to make! Granted it has some layers on it that is for sure! The only reason it has so many layers is because I used the Big Shot to cut out the circles out of the Queen & Co. foam sheets and acetate with the Rubbernecker Stamps Nested Circle Die Cuts. When it goes through the Big Shot it kind of smooshes down the foam. Is smooshes even a real word? I don't know but oh well it is not haha! So I used 3 layers to get the height that I wanted the shaker so I could use all the goodies I wanted in it. I wanted to make it really fun and sparkly.

Do you see that little scalloped circle at the bottom? Yeah, that was a mess up haha! I had cut that out and wanted to use that at first but I messed up and put the foam on that first and forgot to cut out another circle and put the acetate on haha! I was havin a moment that is for sure. So I just went with it and just built the shaker on that. I do have to say it made it much easier making the whole card. Because then I could make the shaker, set it aside and decide what I wanted to do next. For the top of the shaker though instead of just using a regular circle I decided to cut out one using the Rubbernecker Stamps Circle Stitch One Piece Combined Die Cut.
After that I cut out the patterned paper that I love so much! I can't remember where I got it though. I can't remember if it was Michael's or Joann but I know it was one of those. Sorry everyone I hope you will forgive me. First I stamped Happy Birthday from the Rubbernecker Stamps Happy Birthday Clear Stamp Set. Then, I put the pink crinkled paper on the patterned paper and added the most awesome embossing powder ever! I love this stuff!! You heat it from the bottom not the top! You don't even need versa mark or anything you just sprinkle it where you want it and TA-DA!!!

I finished it off by putting the shaker card on after I adhered Olivia to the top of the shaker. Can you believe after all that I still didn't feel it looked "Finished" ?? So I added some awesome sequins that I like and then I felt it was finished. Can you ever really have enough bling on your cards?
The Copic markers I used are:
- Skin: E000, 00, 04, 11, 21, R20, BV20
- Dress, Shoes and Bow: RV10, 13, 23
- Hair: E41, 42, 43, 44
If you do make anything with either of these stamps or anything from Rubbernecker Stamps please feel free to share them with me on my facebook page , the new Rubbernecker Stamps Fan Group on Facebook or the Rubbernecker Facebook page!
Don't forget to go and see the rest of the teams creations over at the Rubbernecker blog as well! We will have challenges, contests, videos and lots of inspiration all week long! You can also catch us on Instagram and Pinterest!
Until next time friends!!!

Don’t forget to follow me on Instagram, Twitter, Pinterest, and if you want to connect with me even more come see my facebook page!
[/vc_column_text][/vc_column][/vc_row]
Comments
Post a Comment
Thank you so much for your kind comments!