Beautiful Butterfly Wishes Rubbernecker Stamps
[vc_row][vc_column][vc_column_text]Hey all! Happy Wednesday! Can you believe it?! I actually didn't use ANY Copic markers today! (GASP!) I used mostly die cuts and I did a little bit of watercoloring with Ken Oliver's Color Bursts!
I had to do this card though. There are some awesome new die cuts from Rubbernecker Stamps that I just had to use together. The idea just came to me and I jumped on it as fast as I could.

It was a lot of fun for me to do this card because we all know how much the Color Bursts and I get along... we don't... they hate me haha!! But using them like this for a nice background I can use them rather well, and it is fun!

The two colors I used are the Fuchsia and the Cadmium Scarlet. I didn't use very much of the Color Bursts but I did put a lot of water in the inkwell as they are very bright and bold colors, I wanted them muted and softer. The darker pink you see is the scarlet and the lighter of course is the fuchsia. You can tell I really muted them down.
I didn't wait for them to dry. If you wait for them to dry the paper tends to curl, so I used my heat tool to get the process going a little faster. After it was all finished being dried, I used the Frame with Curves and Piercing die cut from Rubbernecker to cut out the frame on the watercolor paper.

After I cut out the frame I also used the 2 Part Butterfly #2 die cut. I cut out the butterflies using just plain Whipped Cream cardstock for the outline of the butterfly and some vellum cardstock for the solid part of the butterfly. I wanted the vellum to look as if there was a shadow under the butterfly outline.

I put the butterflies on the vellum with 3D form. However, since I didn't want them up higher on the card from the vellum, I actually placed them on the card with glue dots.
The patterned paper that I used was really bright and bold. I decided that I wanted to mute that a little bit as well since I really wanted a nice soft card. I was able to do this by cutting out a bit of vellum for over the top of the patterned paper. It worked perfectly!
The flower sequins have a , well to me, big hole in the center so I didn't want to put those on with just glue dots. So I had another idea, since my pearls were also not small enough. Nuvo drops! That was the answer! not only did it look like a cute flower center but it also held the sequins on like glue, it was perfect!

Besides the sequins going on last, I also wanted to put this beautiful new Wishes die cut from Rubbernecker on the card. I cut it out of Stampin' Up! Pink Pirouette cardstock and put it on with liquid glue. I even used one of the flower sequins for the dot on top of the i.
I really hope you enjoyed my post today, because I really enjoyed this card and making this post :)
If you do make anything with either of these stamps or anything from Rubbernecker Stamps please feel free to share them with me on my facebook page , the new Rubbernecker Stamps Fan Group on Facebook or the Rubbernecker Facebook page!
Until next time friends!!!

Don’t forget to follow me on Instagram, Twitter, Pinterest, and if you want to connect with me even more come see my facebook page!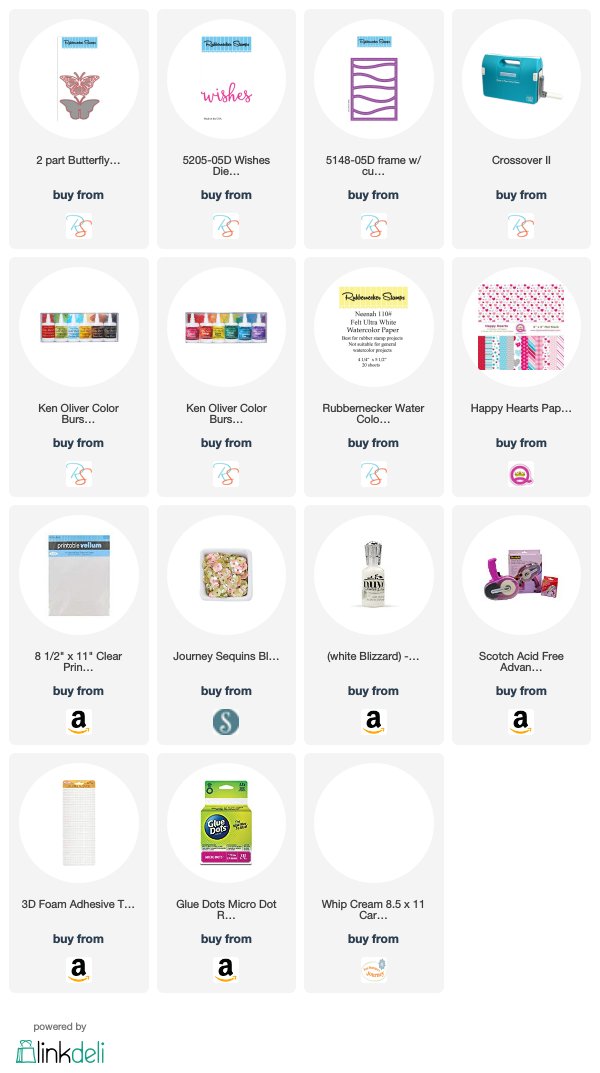
[/vc_column_text][/vc_column][/vc_row]
I had to do this card though. There are some awesome new die cuts from Rubbernecker Stamps that I just had to use together. The idea just came to me and I jumped on it as fast as I could.
It was a lot of fun for me to do this card because we all know how much the Color Bursts and I get along... we don't... they hate me haha!! But using them like this for a nice background I can use them rather well, and it is fun!
The two colors I used are the Fuchsia and the Cadmium Scarlet. I didn't use very much of the Color Bursts but I did put a lot of water in the inkwell as they are very bright and bold colors, I wanted them muted and softer. The darker pink you see is the scarlet and the lighter of course is the fuchsia. You can tell I really muted them down.
I didn't wait for them to dry. If you wait for them to dry the paper tends to curl, so I used my heat tool to get the process going a little faster. After it was all finished being dried, I used the Frame with Curves and Piercing die cut from Rubbernecker to cut out the frame on the watercolor paper.
After I cut out the frame I also used the 2 Part Butterfly #2 die cut. I cut out the butterflies using just plain Whipped Cream cardstock for the outline of the butterfly and some vellum cardstock for the solid part of the butterfly. I wanted the vellum to look as if there was a shadow under the butterfly outline.
I put the butterflies on the vellum with 3D form. However, since I didn't want them up higher on the card from the vellum, I actually placed them on the card with glue dots.
The patterned paper that I used was really bright and bold. I decided that I wanted to mute that a little bit as well since I really wanted a nice soft card. I was able to do this by cutting out a bit of vellum for over the top of the patterned paper. It worked perfectly!
The flower sequins have a , well to me, big hole in the center so I didn't want to put those on with just glue dots. So I had another idea, since my pearls were also not small enough. Nuvo drops! That was the answer! not only did it look like a cute flower center but it also held the sequins on like glue, it was perfect!
Besides the sequins going on last, I also wanted to put this beautiful new Wishes die cut from Rubbernecker on the card. I cut it out of Stampin' Up! Pink Pirouette cardstock and put it on with liquid glue. I even used one of the flower sequins for the dot on top of the i.
I really hope you enjoyed my post today, because I really enjoyed this card and making this post :)
If you do make anything with either of these stamps or anything from Rubbernecker Stamps please feel free to share them with me on my facebook page , the new Rubbernecker Stamps Fan Group on Facebook or the Rubbernecker Facebook page!
Until next time friends!!!

Don’t forget to follow me on Instagram, Twitter, Pinterest, and if you want to connect with me even more come see my facebook page!
[/vc_column_text][/vc_column][/vc_row]
Beautiful Cristena! I love the butterflies.
ReplyDelete