Hippos - Rubbernecker Stamps
[vc_row][vc_column][vc_column_text]Hello All! Yes I have more inspiration for a birthday card for you, only today I am using the new Hippo stamp set from Rubbernecker Stamps. I love these cute little hippos and they make me smile every time I see them. They are very fun and easy to color and they can just brighten everyone's day.
I always send all my cards in when I make them for Rubbernecker so they can go up on the Scrapbook Expo display boards. I can tell you that this one almost did not get sent in haha! It is so bright fun and cheerful that I just fell in love with it. I am going to be making a second one. When I do I will be sure to take a video of it so you can see how I colored and made the card completely.

I didn't realize it until a friend told me my lines on my photo from the wood background that I have were not straight, so I am sorry for that if the photo is making your eyes go a little wonky.
I had a lot of fun as well because these little guys come with their own die cut set. When I say set I mean SET! It is amazing you even have a weeeeee tiny little die cut just for the little heart for the cake, for the line on the birthday balloons, the tiny little candle , it is just amazing!!!

You can also see the texture and the details put into all the little squares the little hippos are sitting on. I actually used Ken Oliver's Color Bursts and just put them in a little mini spritzer bottle, I don't do very well putting them directly on the stamps without it looking like poopie, so I do better with spray bottles and paint brushes.
After I got the color on there and let it dry for a bit, since I used Rubbernecker Watercolor Paper, cut them out using the Nested Square w/Pierce die cut set for the little squares.

When the little squares were all finished I cut out a larger bit of Whipped Cream card stock using the Nested Rectangle w/Pierce for the outer layer. I then put it all together using 3D Foam squares. Well everything except the sequins, I used micro mini glue dots for that. I have to say, I don't know what I did before I found those little micro mini glue dots. They work so well on everything without hanging over the edge making things look messy.
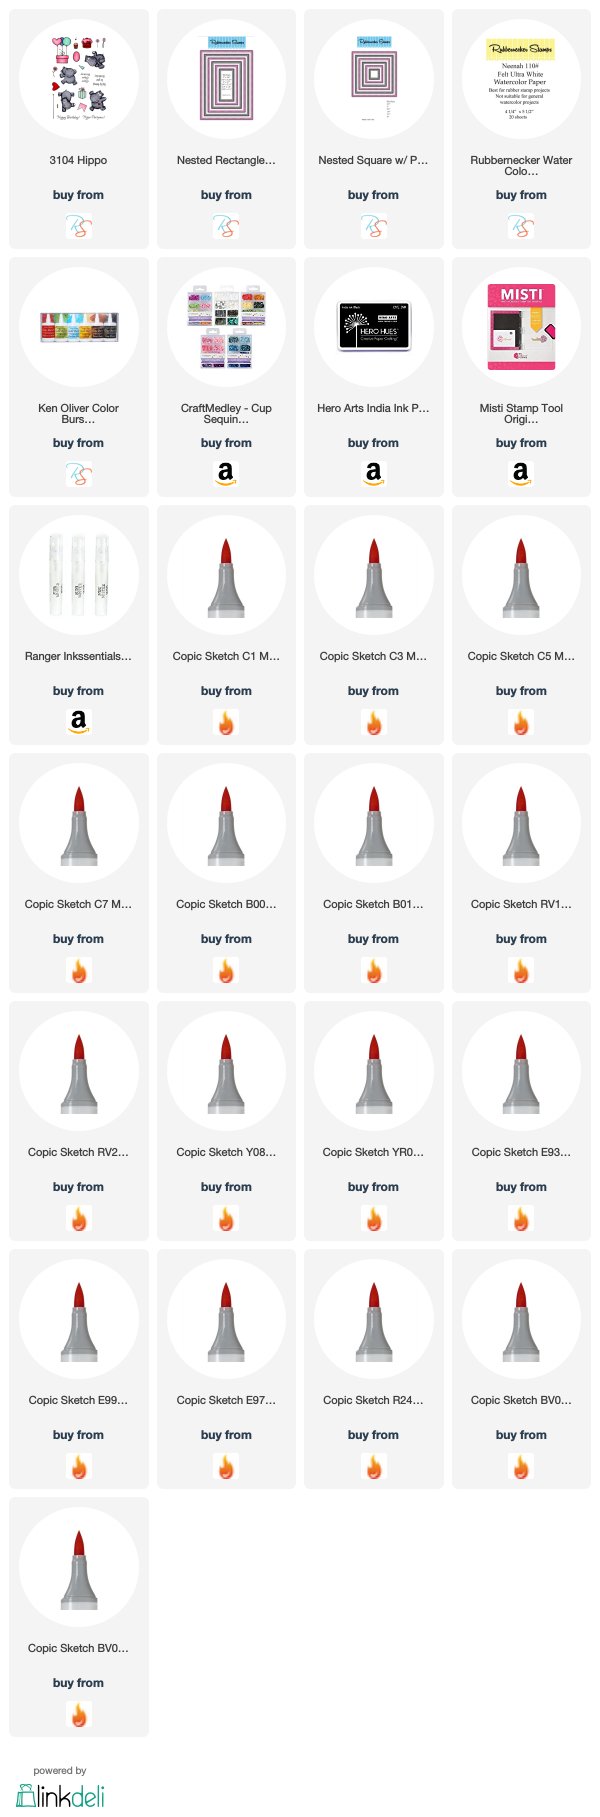
The Copic Markers that I used are:
If you do make anything with either of these stamps or anything from Rubbernecker Stamps please feel free to share them with me on my facebook page , the Rubbernecker Facebook page! or the new Rubbernecker Stamps Fan Group on Facebook.
Don't forget to go and see the rest of the teams creations over at the Rubbernecker blog as well! We will have challenges, contests, videos and lots of inspiration all week long! You can also catch us on Instagram and Pinterest!
Until next time friends!!!

Don’t forget to follow me on Instagram, Twitter, Pinterest, and if you want to connect with me even more come see my facebook page!
[/vc_column_text][/vc_column][/vc_row]
I always send all my cards in when I make them for Rubbernecker so they can go up on the Scrapbook Expo display boards. I can tell you that this one almost did not get sent in haha! It is so bright fun and cheerful that I just fell in love with it. I am going to be making a second one. When I do I will be sure to take a video of it so you can see how I colored and made the card completely.

I didn't realize it until a friend told me my lines on my photo from the wood background that I have were not straight, so I am sorry for that if the photo is making your eyes go a little wonky.
I had a lot of fun as well because these little guys come with their own die cut set. When I say set I mean SET! It is amazing you even have a weeeeee tiny little die cut just for the little heart for the cake, for the line on the birthday balloons, the tiny little candle , it is just amazing!!!

You can also see the texture and the details put into all the little squares the little hippos are sitting on. I actually used Ken Oliver's Color Bursts and just put them in a little mini spritzer bottle, I don't do very well putting them directly on the stamps without it looking like poopie, so I do better with spray bottles and paint brushes.
After I got the color on there and let it dry for a bit, since I used Rubbernecker Watercolor Paper, cut them out using the Nested Square w/Pierce die cut set for the little squares.

When the little squares were all finished I cut out a larger bit of Whipped Cream card stock using the Nested Rectangle w/Pierce for the outer layer. I then put it all together using 3D Foam squares. Well everything except the sequins, I used micro mini glue dots for that. I have to say, I don't know what I did before I found those little micro mini glue dots. They work so well on everything without hanging over the edge making things look messy.
The Copic Markers that I used are:
- C1, 3, 5, 7, E93
- E99, 97, RV10, RV21
- Y08, YR09, R24
- B000, 01, BV00, 02
If you do make anything with either of these stamps or anything from Rubbernecker Stamps please feel free to share them with me on my facebook page , the Rubbernecker Facebook page! or the new Rubbernecker Stamps Fan Group on Facebook.
Don't forget to go and see the rest of the teams creations over at the Rubbernecker blog as well! We will have challenges, contests, videos and lots of inspiration all week long! You can also catch us on Instagram and Pinterest!
Until next time friends!!!

Don’t forget to follow me on Instagram, Twitter, Pinterest, and if you want to connect with me even more come see my facebook page!
[/vc_column_text][/vc_column][/vc_row]
Comments
Post a Comment
Thank you so much for your kind comments!